Questions?
Ask an expert.
Ask an expert.
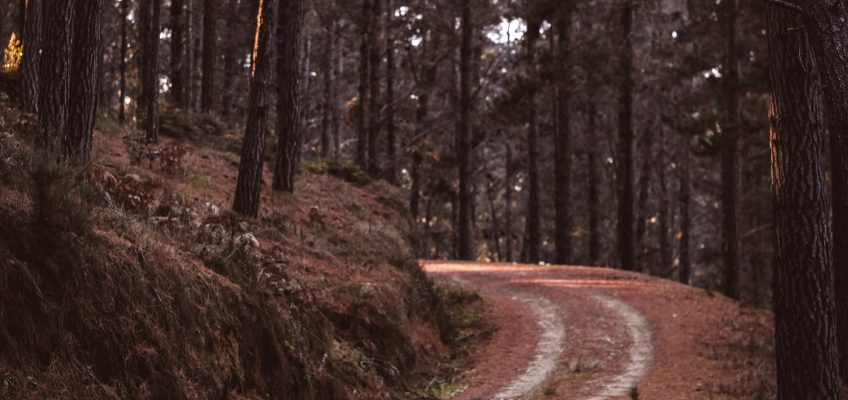
After a long week at work, it can be hard to get started on getting ready to head out of town. It can be even worse when you realize you still need to get everything packed up and accounted for. I find it much less stressful to have my bags pre-packed and ready to roll! To get started, I have my gear set up in four main categories: Shelter, Food, Personal Items, and Medical and Recovery. Let’s review this guide to packing for an off-roading trip so you have a starting place:
While not the most ideal item to have, I have a ground tent for my trips. In one bin, I have all my sleeping gear that is packed up and ready to go for any adventure. Tents or hammocks, sleeping bags, and pads are all tightly rolled up so they take up less space and are kept safe from damage. I recommend grabbing some plastic bins from your local big-box store that are made of a thicker material to allow for easy stacking, organizing and will help keep all of your items dry! A handy alternative to a sleep-specific bin would be a rooftop tent that would allow you to sleep comfortably on your vehicle away from any pesky pests and dirt! You can also consider the idea of having a trailer attached to the back of your vehicle for quick, organized access to any of your items along the way. Having your items on your trailer would allow for more space in your vehicle to travel to your ultimate destination.
Next up, the item that everyone loves the most: The Food Bin! My camp stove, plates, bowls, utensils, and any dry goods are safely and securely placed in a thick plastic bin. This bin allows you to keep your food from being invaded by insects or small creatures while you’re out having an adventure! I usually have this relatively stocked up with the essentials and a few extra things to make each meal special. The second section usually consists of a few perishables that you just can’t live without. It doesn’t hurt to stop near your location and stock up on a few groceries that wouldn’t quite make the long journey. It does help to have a fridge/ freezer for the perishable items but isn’t necessary if you’re on a budget! A regular cooler and ice can work just as well in most conditions and is a low-cost option for most families. Don’t forget about your water! I usually bring a large water container to stay hydrated, cook, and clean with for our crew. For longer trips, make sure you have a way to procure and clean the water to prevent any bacteria from ending your trip early! A strong tip that I would suggest is to plan ahead for your meals or even pick up a few pre-made meals that are ready to go. That way, your meals will be easy to create, store and enjoy!
The next section is for the most essential item category: Personal. I usually have one bag for clothes, toiletry items, and any weather condition gear you may need. My fiancee and I have found that an REI duffle bag has been the most versatile and well-functioning bag for our personal items. For myself, I usually have two more bags for other essentials to document our journey. Being a photographer, I almost always bring some of my camera gear with me. This may include my main camera, a film camera, extra lenses, and all those little things that go with a camera just to make sure every situation is covered. The third bag is for general hiking gear, maps, and maybe even a few snacks! The hiking bag is always stocked with basic survival items like a fire starter, maps, compass, knife, and water purification just in case an area is not as we expected. I recommend making a list of these items before you go, just to ensure you are always prepared for any unexpected situation.
Let’s take a look at the last and most important category: Medical and Recovery. Most of the items in this category I always keep within reach in my Tacoma. First aid, advanced aid, and recovery gear are all essentials that can not only be useful day to day but especially in a situation that doesn’t have the best cell service. I run a Fieldcraft Survival Mobility Go Bag with my first aid picks and some advanced medical supplies just in case a situation appears that I was not expecting. Make sure to use what you know and get training on what you don’t. There are a lot of businesses that offer classes for low rates that would make sure you know at least the basics to survive. My biggest tip is to make sure you have a solid foundation with a survival or wilderness first aid class and practice regularly at home. To make more room, most of my recovery gear is placed in the truck bed using a Roam Adventures Rugged Case. This case is perfect for additional hiking boots and tools, just in case. You can never be too prepared!
It is easier to have your gear broken down into easy-to-grab options to make sure prep time is minimal. Having your items pre-sorted makes throwing everything together faster and your adventure begins sooner. If you take the steps to be more prepared, not only is the trip much less stressful, but you can find one less excuse on why you didn’t go. Over time with more trips under your belt, you will start to get a feel of what you really need, what you can do without, and build your own system that works best for you. No adventure, big or small, is worth waiting on. Go out, have fun and get dirty!
{"one"=>"Select 2 or 3 items to compare", "other"=>"{{ count }} of 3 items selected"}